This article presents a brief overview of installing Oracle WebLogic Server (WLS) 12c Release 1 (12.1.1) on Oracle Linux 5 and 6.
Related articles.
- Oracle WebLogic Server (WLS) 12c Release 1 (12.1.1) Development-Only Installation on Oracle Linux 5 and 6
- WebLogic Server 11g and 12c : Create, Extend and Remove Domains
- WebLogic Server 11g and 12c : Clustered Domains
- JRockit Installation on Linux
Assumptions
This article assumes you have an existing server (real or virtual) with either Oracle Linux 5.x or 6.x installed on it. For instruction on how to do this check out the following articles.- Oracle Linux 5 (OL5) Installation : I did the basic installation with no extra package groups for this installation.
- Oracle Linux 6 (OL6) Installation : I picked the "Desktop" option for this installation, so I would have a graphical interface without having to select separate package groups.
Software
Download the Weblogic Server 12c software from Oracle Technology Network.- Java Development Kit (I used 7u2 Linux64 RPM)
- JRockit (Use this in place of SUN JDK for production servers)
- WebLogic Server 12c Release 1 - Generic Installer (977MB)
Setup
The following actions should be performed by the "root" user.Make sure the "/etc/hosts" file contains correct entries for both the "localhost" and real host names.
127.0.0.1 localhost localhost.localdomain localhost4
Install the JDK.localhost4.localdomain4 192.168.0.163 ol6-wls12.localdomain ol6-wls12
Create a new group and user.# rpm -Uvh jdk-7u2-linux-x64.rpm
Create the directories in which the Oracle software will be installed.groupadd -g 1000 oinstall useradd -u 1100 -g oinstall oracle passwd oracle
Append the following entries into the "/home/oracle/.bash_profile" file.mkdir -p /u01/app/oracle/middleware chown -R oracle:oinstall /u01 chmod -R 775 /u01/
MW_HOME=/u01/app/oracle/middleware; export MW_HOME
WLS_HOME=$MW_HOME/wlserver_12.1; export WLS_HOME
JAVA_HOME=/usr/java/jdk1.7.0_02; export JAVA_HOME
PATH=$JAVA_HOME/bin:$PATH; export PATH
# JDK 7 Requirement
USER_MEM_ARGS="-Xms32m -Xmx200m -XX:MaxPermSize=350m"
Installation
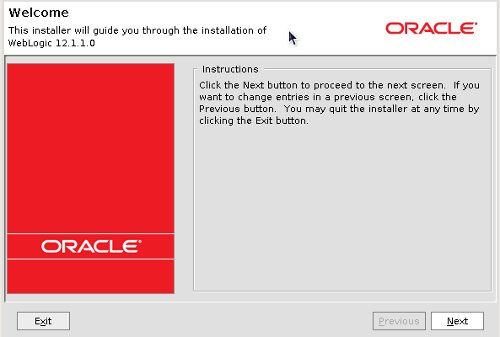
Run the installer as the "oracle" user.Click the "Next" button on the welcome screen.$ $JAVA_HOME/bin/java -Xmx1024m -jar wls1211_generic.jar
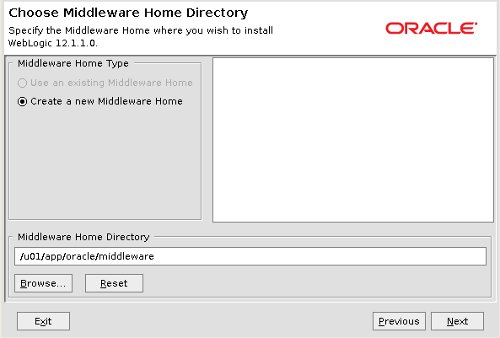
Enter the middleware home ("/u01/app/oracle/middleware") and click the "Next" button.
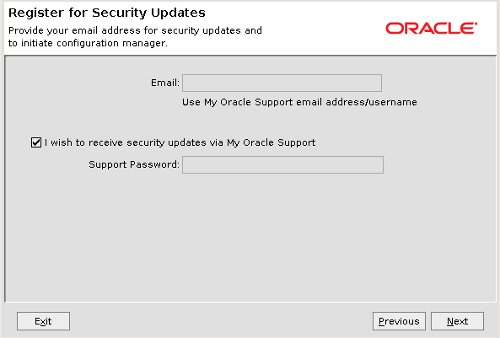
Either enter your support details, or attempt to uncheck the security updates checkbox. The box doesn't actually uncheck, but presents you with a warning dialog. If you click the "Yes" button, indicating you don't want updates, you are returned to the same screen with the box still checked. Click the "Next" button anyway.
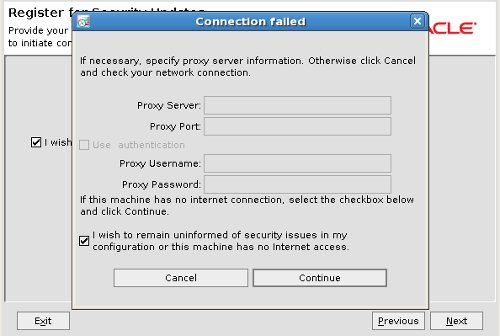
Assuming you don't want security updates, click "Yes" and "Yes" on the subsequent warning dialogs and you are presented with the "Connection Failed" screen. Check the "I wish to remain uninformed..." checkbox and click the "Continue" button. This whole process is very confusing at first. Obviously the developers responsible didn't really expect people to say no to security updates!
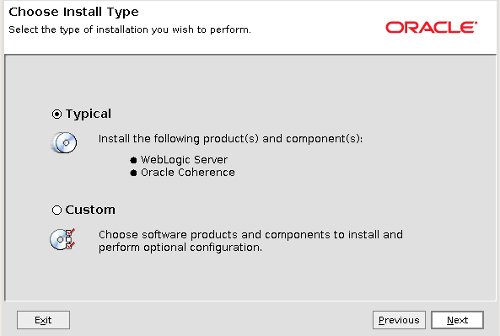
Accept the typical setup by clicking the "Next" button.
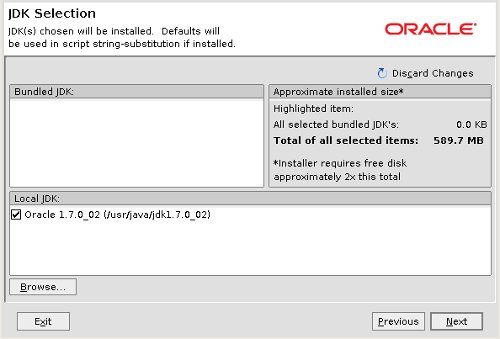
Accept the default JDK selection by clicking the "Next" button.
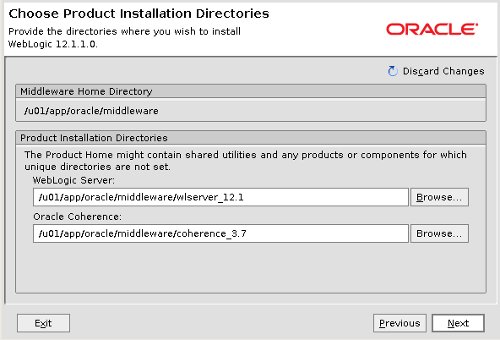
Accept the default product installation directories by clicking the "Next" button.
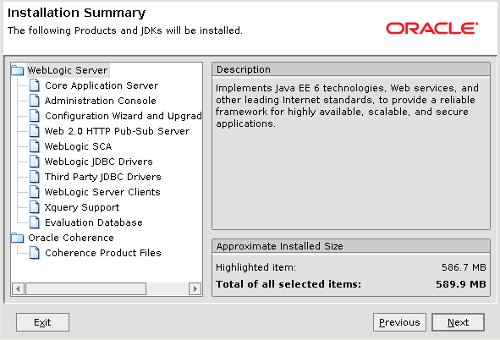
If you are happy with the summary information, click the "Next" button and wait for the installation to take place.
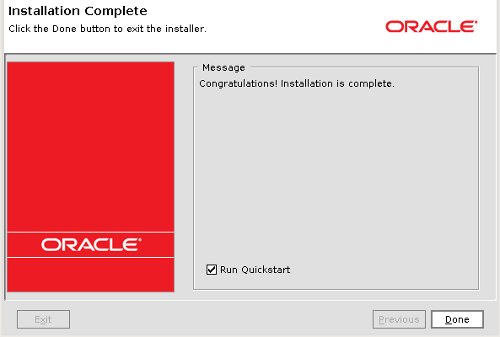
On the installation complete screen, click the "Done" button to run Quickstart.
Create Domain
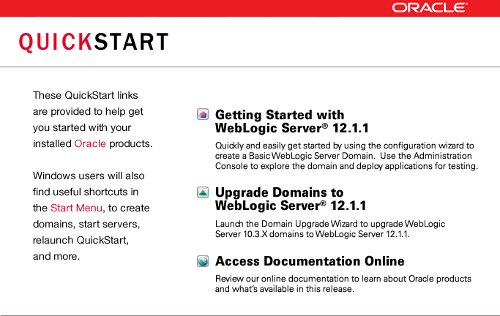
If you have not chosen to start Quickstart as part of the installation, you can do it manually.On the Quickstart screen, click the "Getting Started with WebLogic Server 12.1.1" link.$ $MW_HOME/utils/quickstart/quickstart.sh
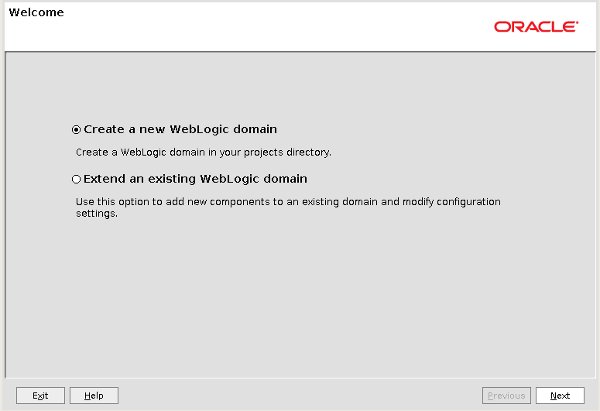
On the welcome screen, accept the "Create a new WebLogic domain" option by clicking the "Next" button.
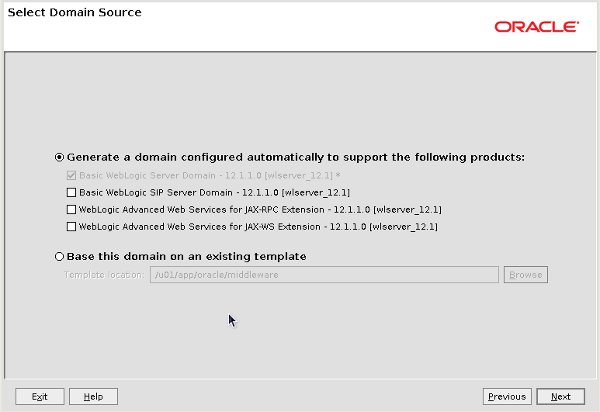
Select the type of domain and click the "Next" button.
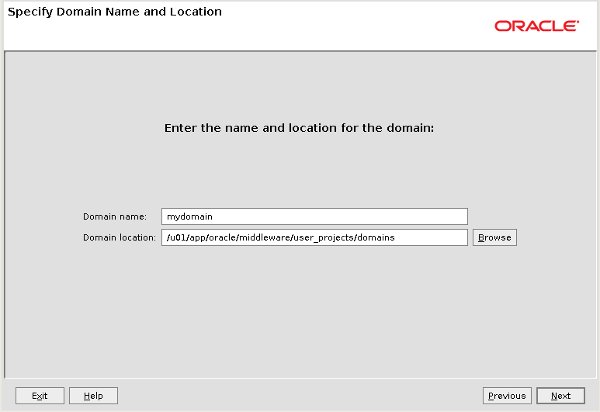
Enter the desired domain name and location, then click the "Next" button.
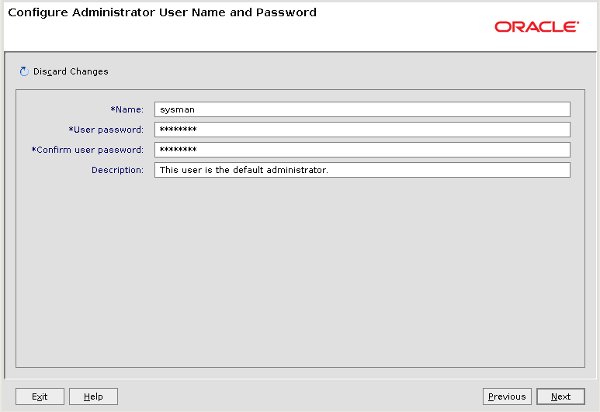
Enter the administrator username and password, then click the "Next" button.
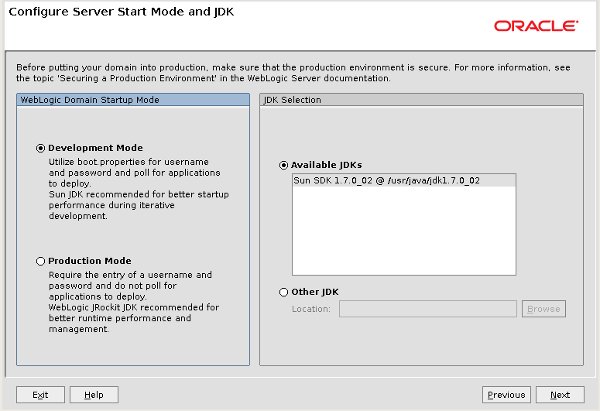
Select the startup mode and JDK, then click the "Next" button.
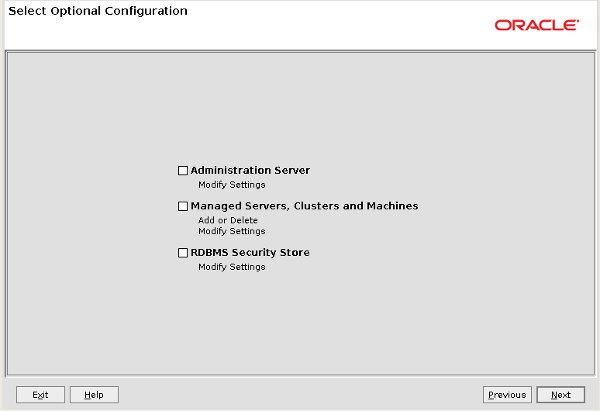
Select any required optional configuration, then click the "Next" button.
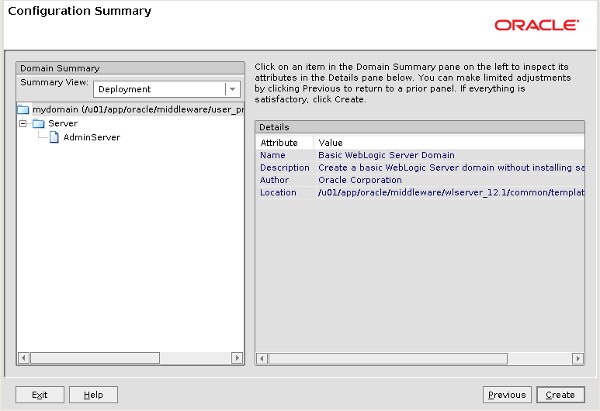
If you are happy with the information on the summary screen, click the "Create" button.
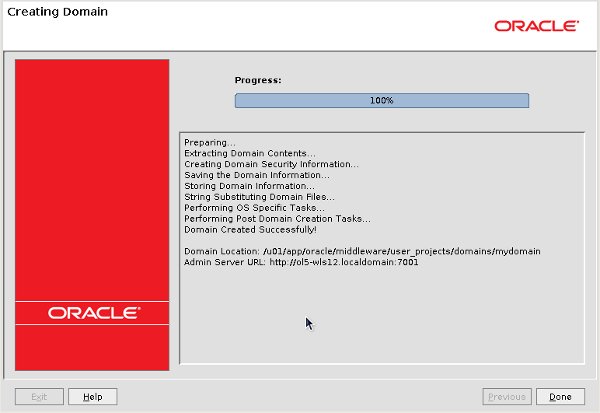
Once the domain is created, click the "Done" button.
Close the Quickstart screen, unless you have any other operations to do.
Once complete, we need to copy the following files as the "root" user. This is a requirement because we are using version 7 of the JDK.
The "$MW_HOME/user_projects/domains/mydomain" directory now contains a script that can be used to start the server. Remember to use the "&" if you want access to the commandline to be returned.# mkdir -p $JAVA_HOME/jre/lib/endorsed # export MW_HOME=/u01/app/oracle/middleware # cp $MW_HOME/modules/javax.annotation*.jar $JAVA_HOME/jre/lib/endorsed # cp $MW_HOME/modules/javax.xml.bind*.jar $JAVA_HOME/jre/lib/endorsed # cp $MW_HOME/modules/javax.xml.ws*.jar $JAVA_HOME/jre/lib/endorsed
$ cd $MW_HOME/user_projects/domains/mydomain
$ ./startWebLogic.sh &
Post-Installation
Once the server is started you can access the administrator console using the "http://hostname:7001/console" URL. Log in using the username and password provided in the previous step.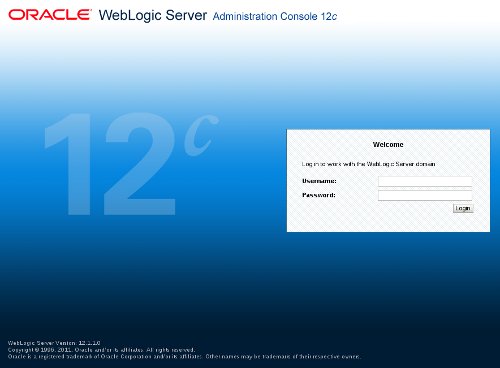
The following scripts are useful.
$ # Start NodeManager
$ nohup $WLS_HOME/server/bin/startNodeManager.sh > /dev/null 2>&1 &


$ # Start WebLogic
$ nohup $MW_HOME/user_projects/domains/mydomain/startWebLogic.sh > /dev/null 2>&1 &
$ # or
$ nohup $MW_HOME/user_projects/domains/mydomain/bin/startWebLogic.sh > /dev/null 2>&1 &

$ # Stop WebLogic
$ $MW_HOME/user_projects/domains/mydomain/bin/stopWebLogic.sh


$ # Start Managed Server
$ nohup $MW_HOME/user_projects/domains/mydomain/bin/startManagedWebLogic.sh AdminServer > /dev/null 2>&1 &

$ # Stop Managed Server
$ $MW_HOME/user_projects/domains/mydomain/bin/stopManagedWebLogic.sh AdminServer


$ # Start the configuration wizard
$ $WLS_HOME/common/bin/config.sh
virtualnuggets offering oracle dba online training,corporate training services.
ReplyDeleteEvery Oracle db has a set of two or more online redo log files.
The set of redo log files is collectively known as the redo log for the db. A redo log is made up of redo entries. which are also called redo records.
1. what are the views of redo log file?
>desc v$log;
>desc v$logfile;
2.How to create redo log group?
>alter database add logfile group 5 ('/home/oracle/Demo/log/redoc1.log','/home/oracle/Demo/log/redoc2.log') size 10m;
virtualnuggets offering oracle dba online training,corporate training services.
ReplyDelete2.How to create redo log group?
>alter database add logfile group 5 ('/home/oracle/Demo/log/redoc1.log','/home/oracle/Demo/log/redoc2.log') size 10m;
We can drop the group when stage is inactive.
To make it inactive we need to issue the following command.
>alter system switch logfile;
>archive log list;
>ALTER DATABASE DROP LOGFILE GROUP 3;
When we want to change a redo log file name we must stop the instance and that logfile should be in inactive mode
>shut immediate
$ mv oldname newname
>startup mount
>alter database rename file '/u01/app/oracle/product/10.2.0/db_1/dbs/log1DEMO.log' to '/u01/app/oracle/product/10.2.0/db_1/dbs/redo1.log';
>alter database rename file '/u01/app/oracle/product/10.2.0/db_1/dbs/log2DEMO.log' to '/u01/app/oracle/product/10.2.0/db_1/dbs/redo2.log';