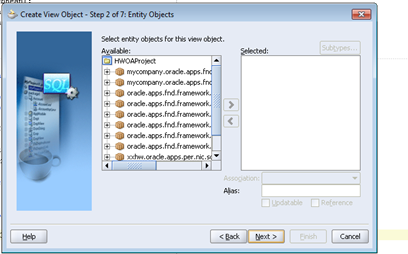
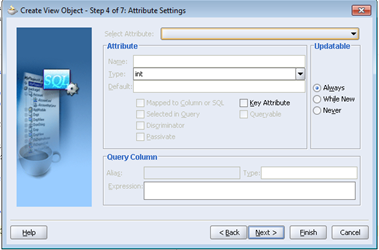
1> Create a new VO object for LOV
> Project > New > Business Tier > ADF Business Components > View Object
2> Create LOV(xxhwOptLOV) in package xxhw.oracle.apps.per.nic.lov.server
3> Next
4> Next
5> Next and write a script for LOV in the expert mode, it is better to give alias to the selected column
> Test the query
> Click next .. next .. next and finish
select distinct pension_option pOpt
from hw_custom.xxhw_hr_nic_data
6> Create an AM(xxhwLOVAM) for this LOV VO and attach the same
7> Select Generate Java Files for AM class
8> Now change the item style of item PensionOption to 'MessageLovInput'
9> It will create another region and item under it
10> Change ID(xxhwLovRN) and AM(xxhwLOVAM) definition of this newly created region
11> Now right click to region > New > table Using Wizard
12> Select AM(xxhwLOVAM) and VO
13> Next .. Next .. select view attribute
14> Change prompt
15> Change the property of LOV view attribute.
>> Search allowed/ sort allowed
16> Do the mapping for lovmapping > lovMap1
> LOV region Item(pOpt), Return Item(PentionOption), Criteria Item(PentionOption)
17> Compile and run the page
>> Next we will work on Inserting a new record


Hi Sridevi,
ReplyDeleteThanks for your blog. Very helpful.
When I did the above steps for my OAF page - The Lov is visible in both search field and Result set.
How to resolve this issue.
It is a fantastic post – immense clear and easy to understand. I am also holding out for the sharks too that made me laugh. 안전놀이터 순위
ReplyDeleteI have recently started a blog, the info you provide on this site has helped me greatly. Thanks for all of your time & work. 먹튀검증
ReplyDelete